


 Life has been crazy busy around here between being a chauffeur and celebrating all the things. I’m learning this is my new constant…and honestly, I wouldn’t have it any other way!
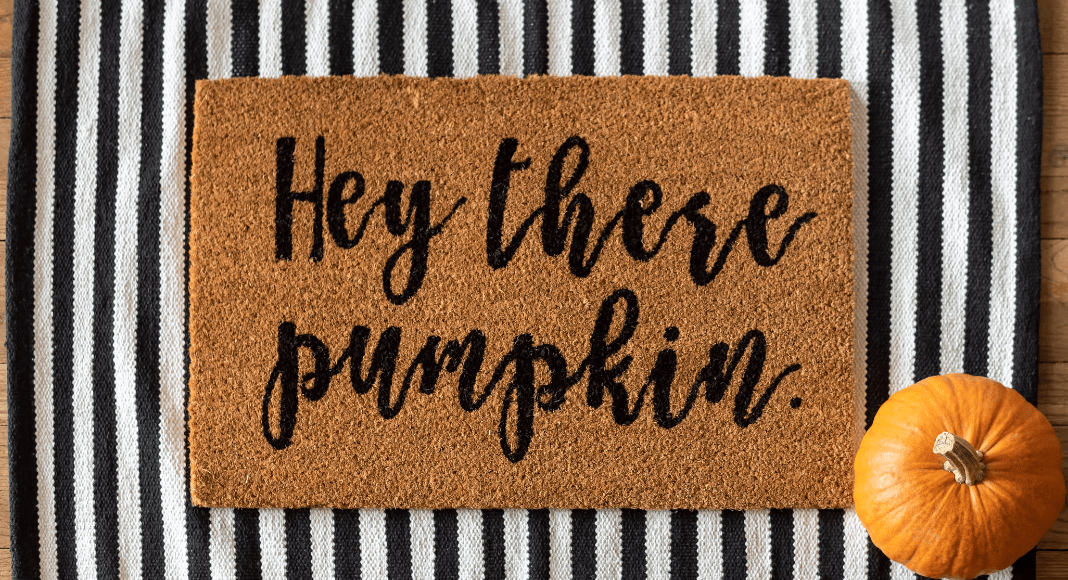
I’m still making time for crafting because it’s something the girls enjoy doing with me! We recently made this new fall doormat and we love how it turned out! I really wanted to do a Halloween-specific one but I know I won’t have time to make another before November so I decided to stick with one that can stay out until Thanksgiving!
Easy Painted Fall Doormat
Here’s what you do:
- Trace or draw your design on freezer paper. This is NOT the same as parchment or wax paper. I’ve only ever used @reynoldsbrands so I can only speak for that!
- Cut out your design like a stencil. Now, if you have a fancy cutting machine, I’m sure the first 2 steps are more manageable. But I cannot commit to sitting down and learning how to use one aaaaannd I happen to be super fast at cutting with scissors so I’m sticking with my way for now.
- Use a really hot iron to iron it onto your mat. It sticks without leaving any kind of residue! So crazy! I’ve used it on all kinds of fabric and even on canvases, wood, and once a wall in my house! Fabric is the best but I was pleasantly surprised by how well it works on other surfaces.
- I used semi-gloss exterior paint. I buy the sample size and it is just enough for this project! For this kind of mat, you have to lay it on thick. I’m talking about dropping onto it kind of thick! The freezer paper does lift up a little as you paint but don’t worry! It still creates crisp lines!
- Peel off the paper while the paint is still wet. I tried waiting for the paint to dry once and it was kind of a disaster. You do have to peel carefully because you don’t want the color to drop off the paper. But that’s not too difficult to do!
You could spray it with a sealer if your porch is exposed but mine is covered and it’s only going to be out there for a few weeks so I just threw it out there as soon as the paint dried.


